Reducing Waiting Lists by SMS
This is a demonstration of how to use the excelsend MS Excel Add-in to easily send text messages, aimed at reducing health sector waiting lists. It employs a straightforward approach of inquiring whether individuals on the waiting list still want or need the procedure. The demonstration illustrates how to send text messages to your clients and receive their replies directly into your spreadsheet. With this feedback, you can identify those who decline the procedure and use this information to reduce or reorganize the waiting list.
We all know about long waiting lists in the Health Service and there are many ways that management staff deal with those lists. Here we simply demonstrate using SMS to reduce the size of a waiting list from within Microsoft Excel.
This demonstration sends a message to people on the waiting list to ask them by text message if they still need or want the procedure. Those that reply no will enable us to shorten the list
The Spreadsheet Waiting List
Here is the waiting list.
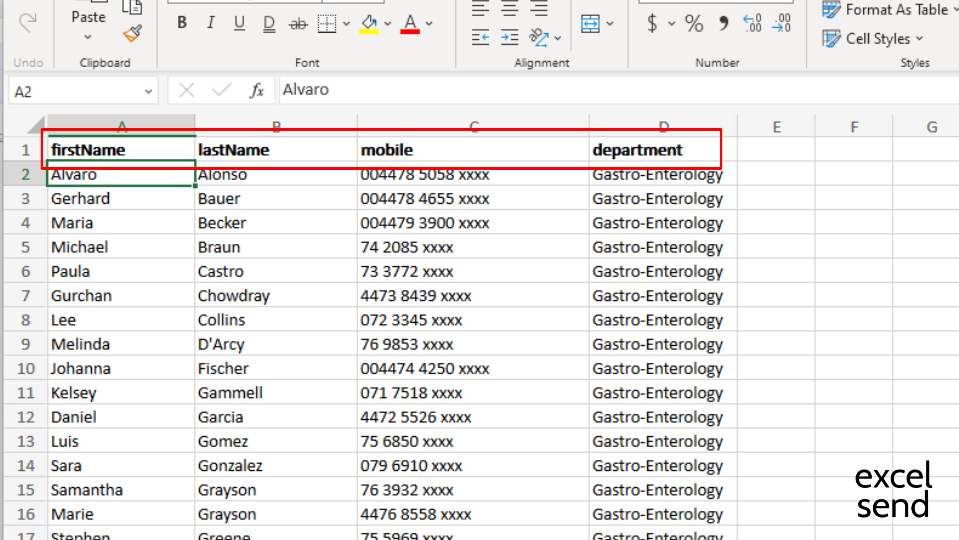
Each row represents a patient. The first row contains the name of the columns. We have the first name, last name, mobile number and the department that the patient is waiting for. We’re going to use each of these fields in the message.
Open Excelsend
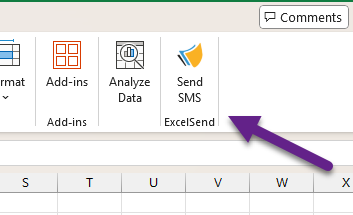
They start by opening excelsend by clicking the Send SMS button in the menu.
Message Settings
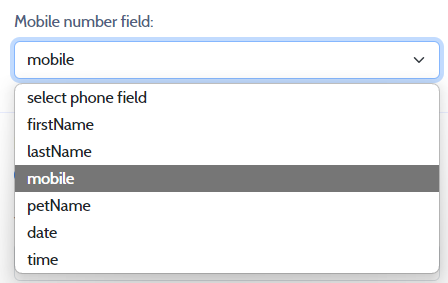
Phone field
They need to tell excelsend which column in the spreadsheet contains the mobile phone numbers right here.
Replies
Next they tell excelsend that they want to enable replies so that their customers can reply to the appointment reminder.

Note The alternative to allowing replies is to use a Sender Id which is similar to a brand name. The ability for both replies and sender ids differ from country to country.
Opt outs
Next they tick the opt out box to get excelsend to add an opt out link to their message.
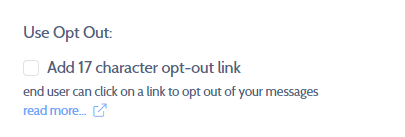
If any contact wants to opt-out of future messages they can simply click the link.
As replies are enabled in this example the contact can also reply STOP to the message to opt-out of future messages
Delay sending
It is possible to queue the messages to go later. Here they want the message to go immediately.

Report fields
In this example the company wants to receive replies back to the spreadsheet and also to see basic performance metrics on the messages being sent. So they tick the add report fields to spreadsheet option.

This option will result in extra fields (columns) being added to the spreadsheet document
The text message
And now for the message itself. Text messages can be stored in excelsend for repeated use or stored anywhere and pasted in.
^^firstName^^ ^^lastName^^, you are currently on a waiting list to see a ^^department^^ Consultant. Would you like to remain on this waiting list? Please reply YES or NO to this this message.
Note the merge fields. Each merge fields matches a column name in the spreadsheet.
Preview and Send
Now we can click preview. This builds a list of messages by merging the text message template with the data from the spreadsheet via merge fields. We can look at all the messages, look at how much it’s going to cost and when we’re happy everything is in order we can click Send.
So step one is complete - the sending of the messages. Ideally we wait for anything from 24-48 hours for all replies to be received back.
Reply Messages
Because we clicked the report fields option, when the messages were sent extra columns were added to the spreadsheet. Apart from the exs_jobReference field, all the other columns are blank.
To get the replies we open excelsend again from the same spreadsheet and click refresh in the report section. This populates the reporting columns of the spreadsheet with the delivery and reply information.
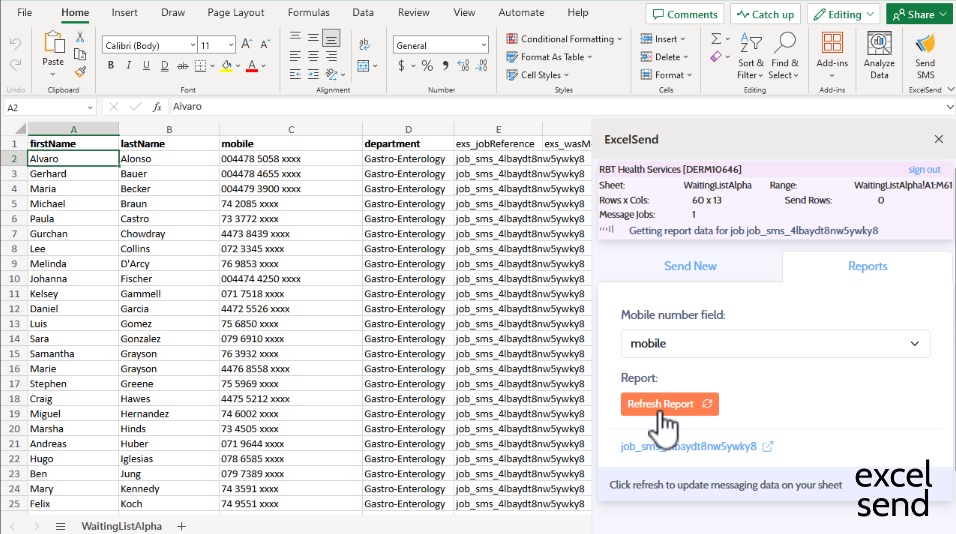
All of these new columns to the right of my original data were added by ExcelSend when we sent the message. They each represent some piece of information about the message we sent for that patient
| field name | information |
|---|---|
| exs_jobReference | An ExcelSend code that links your spreadsheet to the cloud |
| exs_wasMessageSent | Yes or No |
| exs_dateSent | When was the message sent |
| exs_status | A delivery status of the message |
| exs_message | The original message sent out |
| exs_sendError | Any reason it wasn’t sent |
| exs_wasReplyReceived | Yes or No |
| exs_dateReceived | Date of any reply received |
| exs_reply | Text of the reply received |
In this demonstration we asked for a yes or no response from the patient.
Be careful not to confuse the yes and nos in the other fields and only use what appears in the exs_reply field
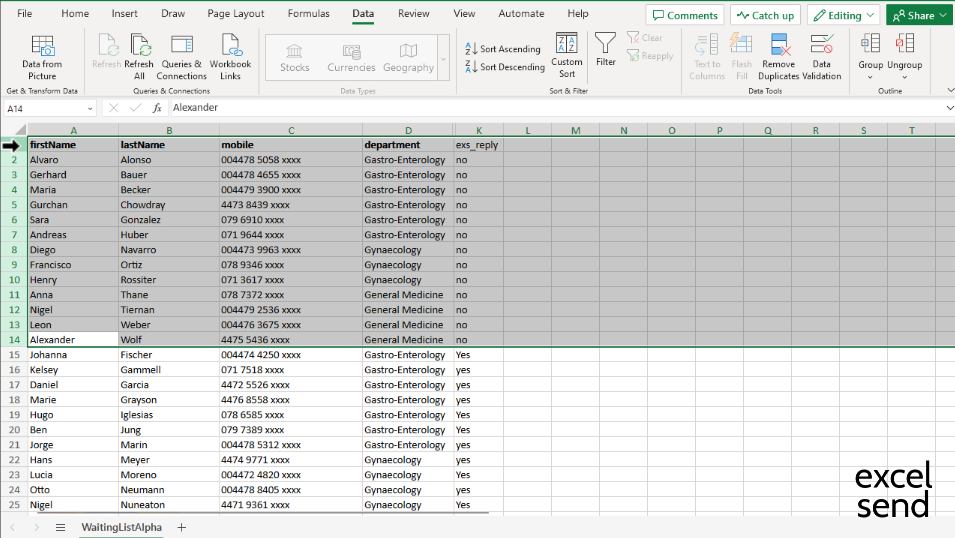
To get a clearer picture
- delete the non-essential fields
- sort by
exs_reply - reduce the waiting list with all the no responses
